Step 1 of 5 – Assembling the PIXI Vision Smart Feeder
Already finished assembling your Catit PIXI smart device? Go to the overview for access to all other steps.
For information on all other help and advice topics, see our dedicated Help & Advice page.
Continue reading below or jump ahead to one of the following topics:
1.1 Rinse before use
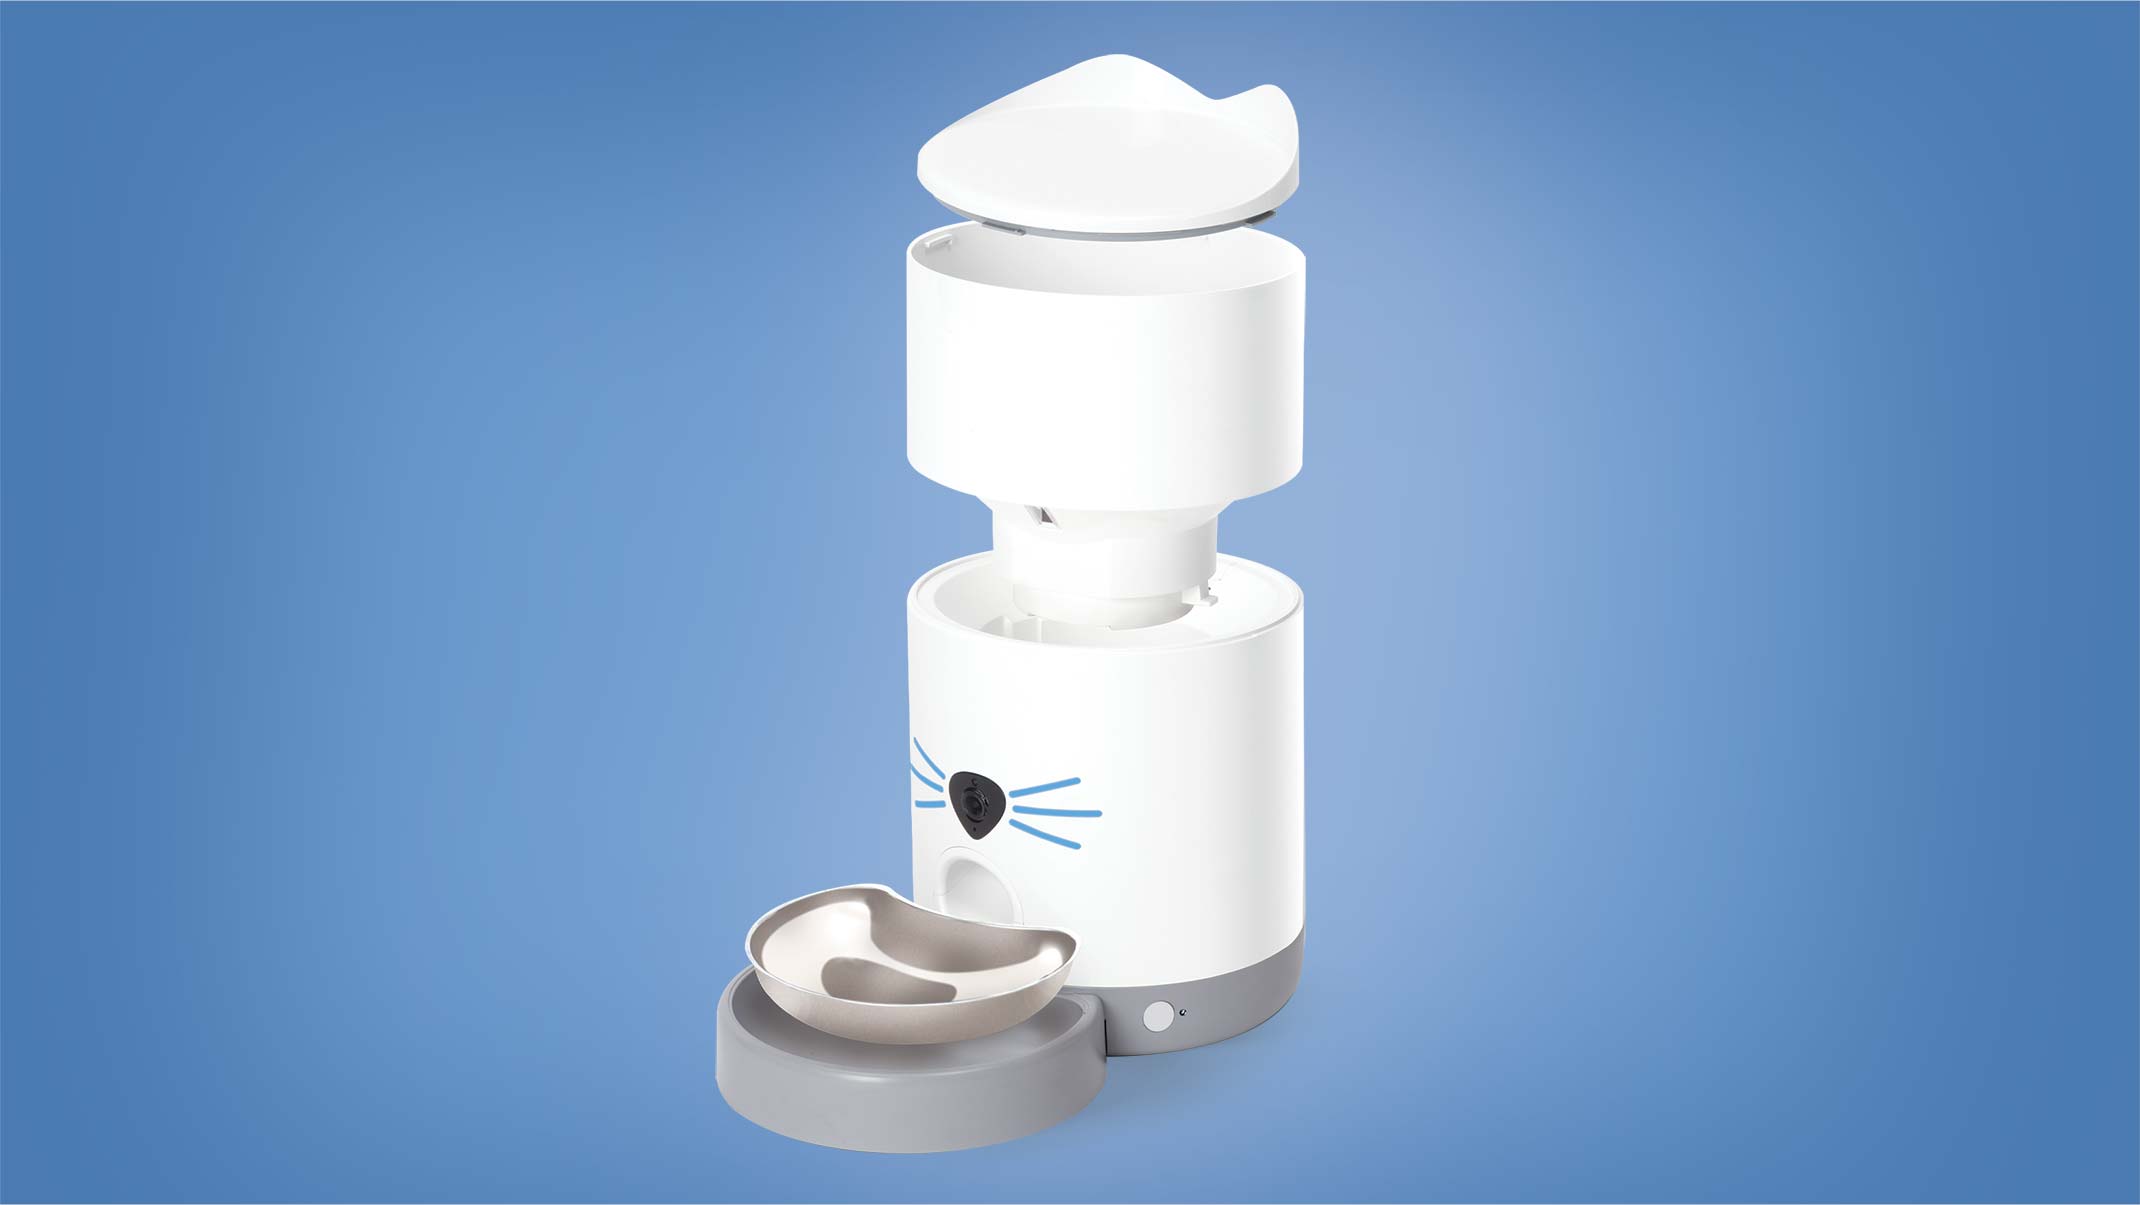
Remove the feeder from its box. You’ll find the device is largely pre-assembled.
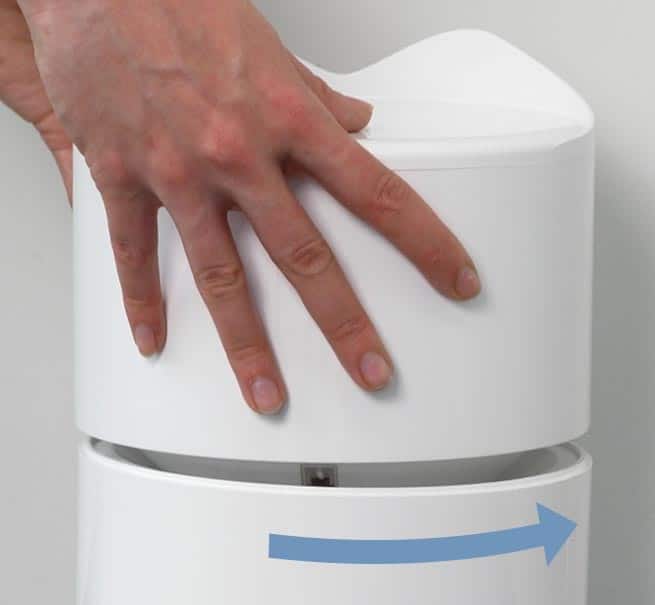
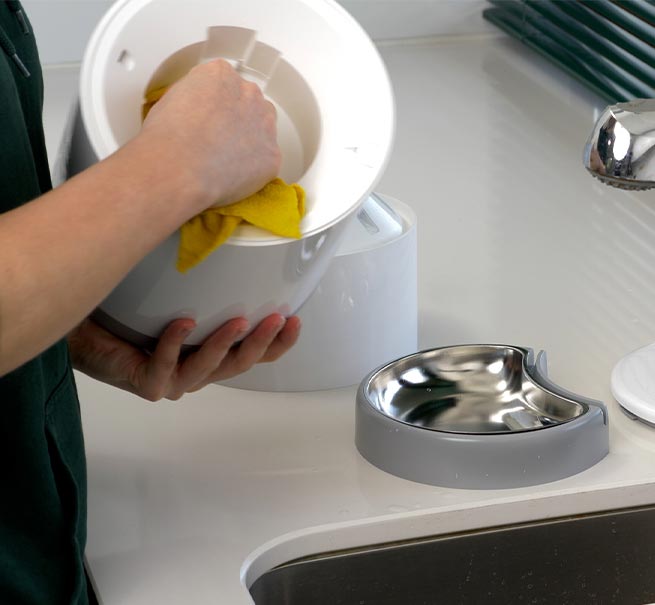
Lift and rotate the reservoir counterclockwise to remove it from its base. Clean all parts with a slightly damp cloth. NEVER use a soaking wet cloth on the base as too much water can severely damage the electrical components.
1.2 How do I assemble the Catit PIXI Vision Smart Feeder?
If you’ve finished the above preparations, you’re ready to start assembling your Catit PIXI Vision Smart Feeder.
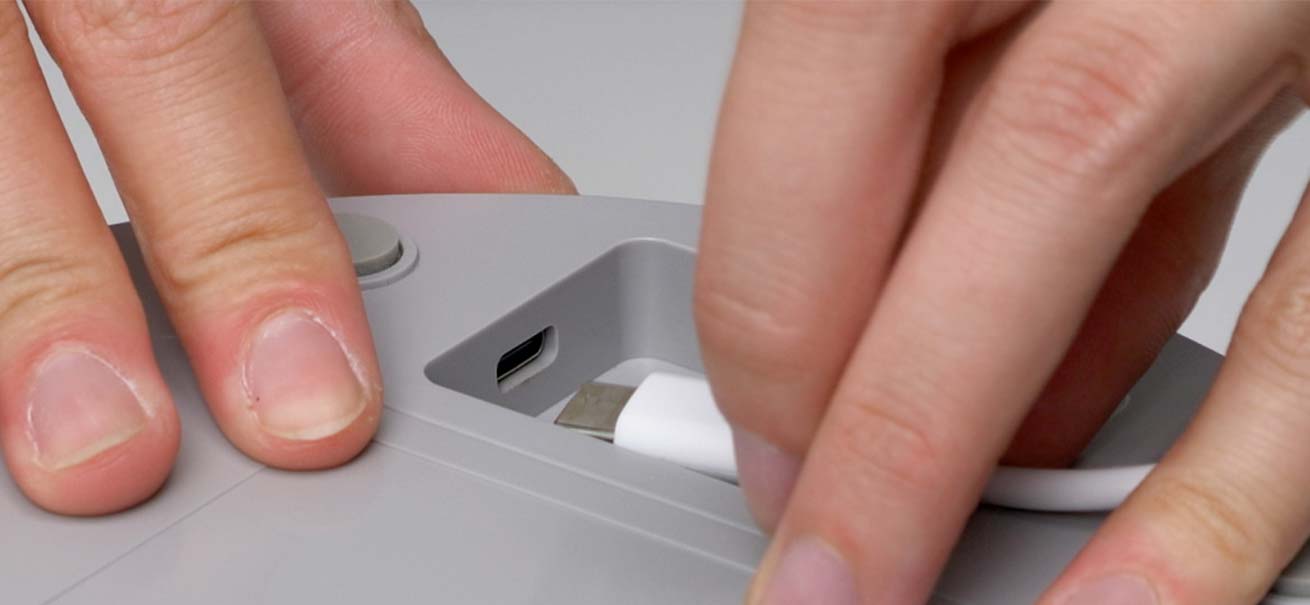
Connect the USB-C cable at the bottom of the feeder and push the cable into the recess so the feeder sits stable when placed the floor.
DON’T plug the adapter into a wall socket yet!
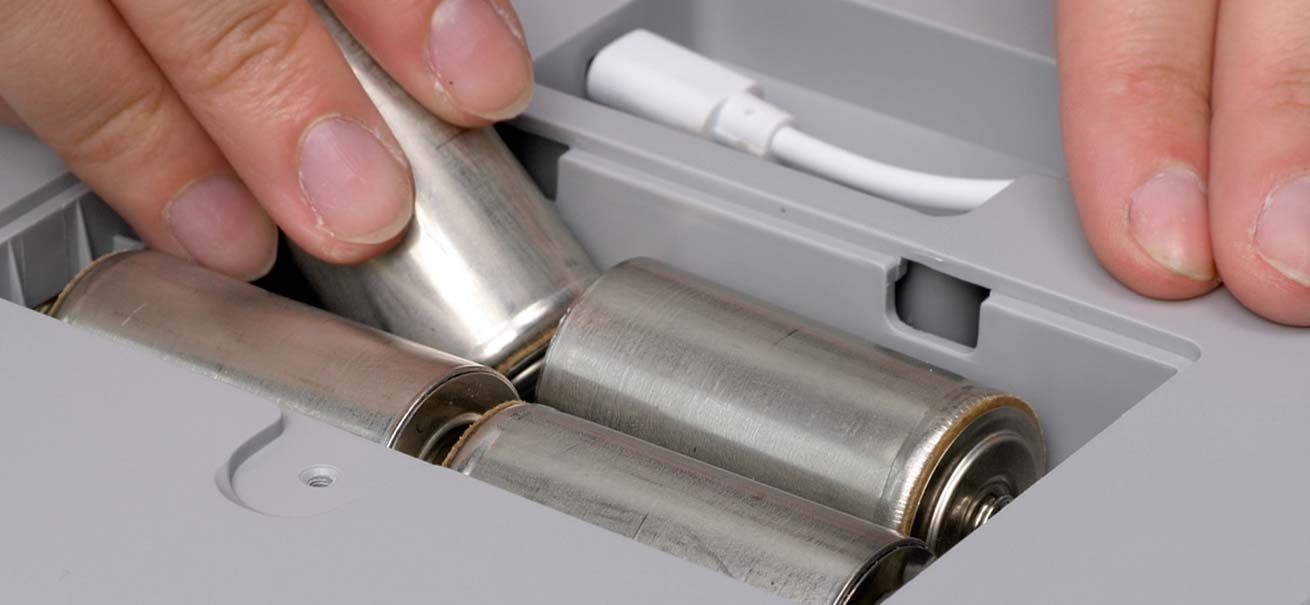
Optional: insert batteries into the battery compartment at the bottom of the device. These will function as a backup in the event of a power outage.
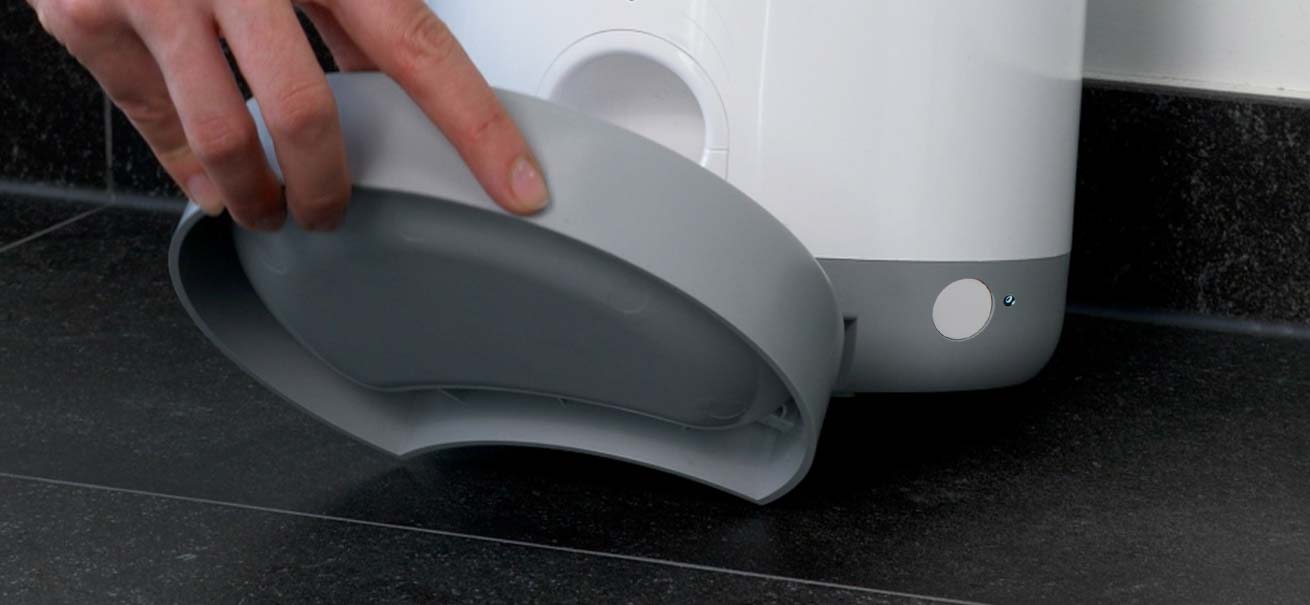
Place the dish holder on the floor or your kitchen counter, and lower the feeder onto the dish holder.
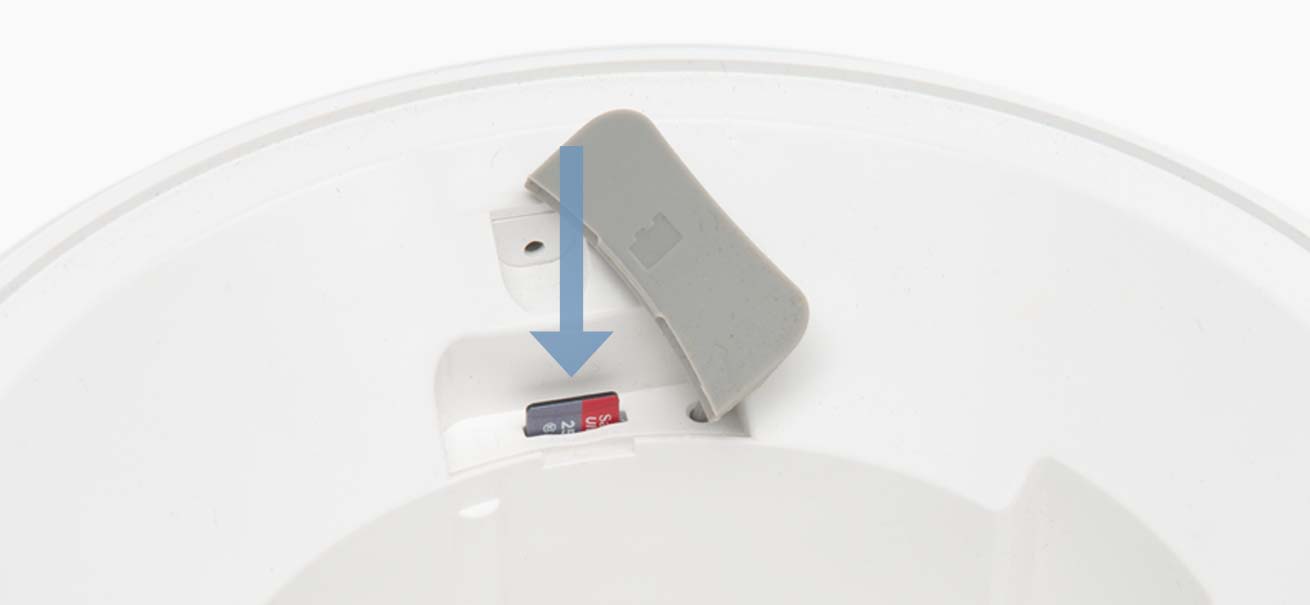
Recommended: insert a MicroSD card (max. 256GB storage – not included) in the slot in the feeder base before placing the reservoir on top.
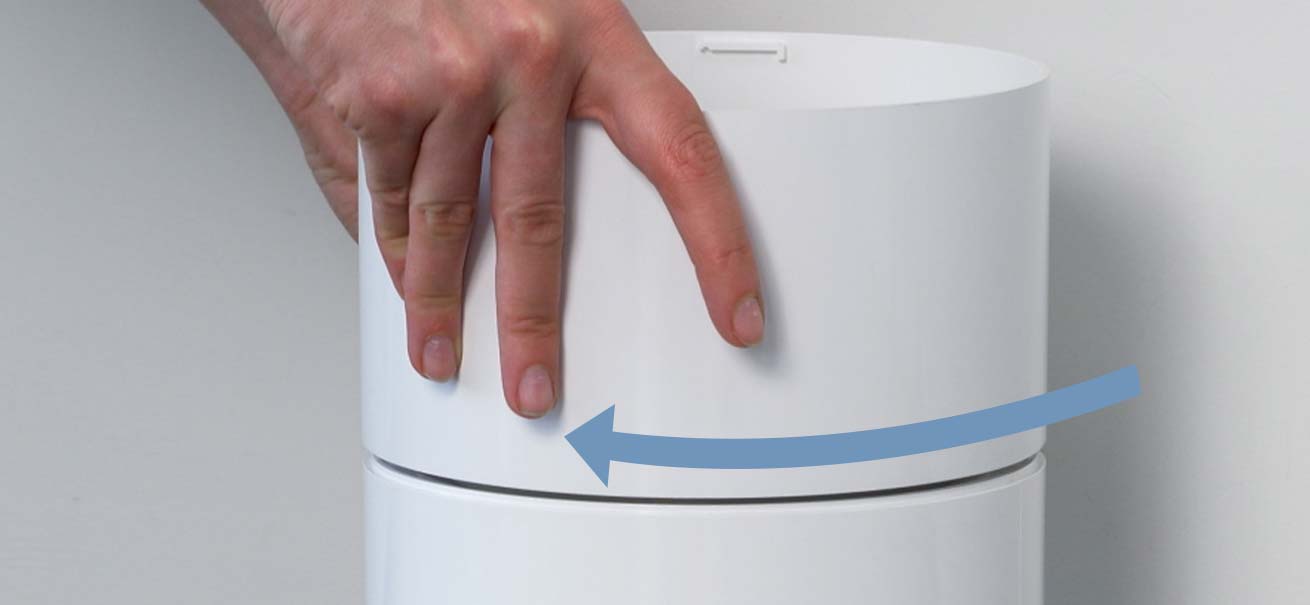
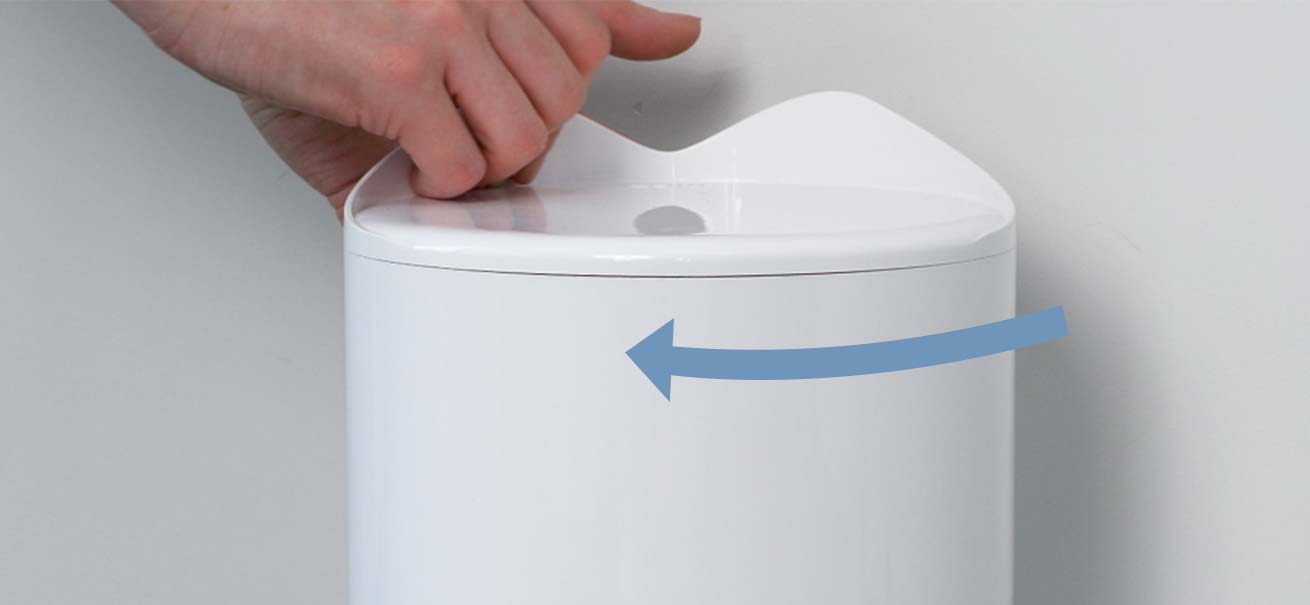
Rotate the reservoir clockwise until it locks into place.
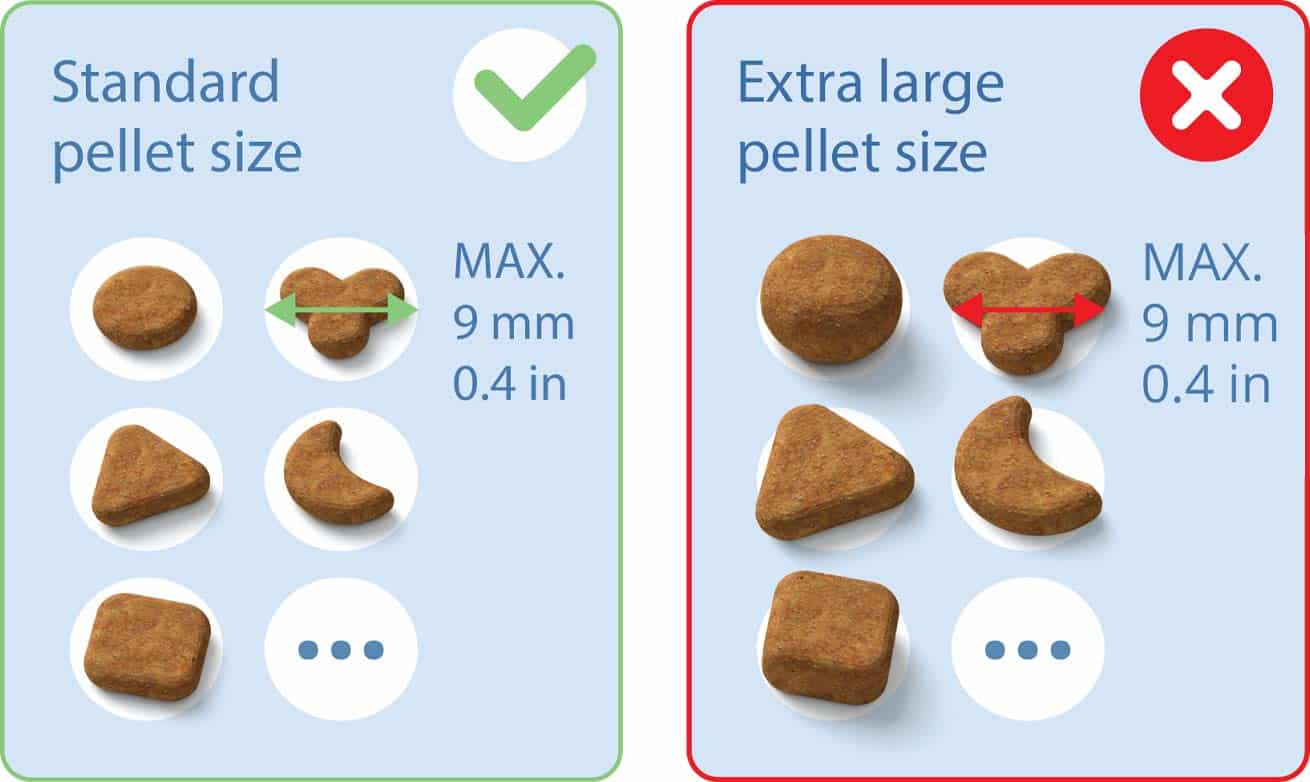
Fill the reservoir with kibble up to 0.4 in / 1cm below the edge. The feeder accepts kibble of max. 0.35 in / 9mm in diameter
Insert the power cord into the USB adapter, and plug the adapter into the wall socket
Press the side button a few times to make sure the food travels all the way down into the feeder base and out into the dish.
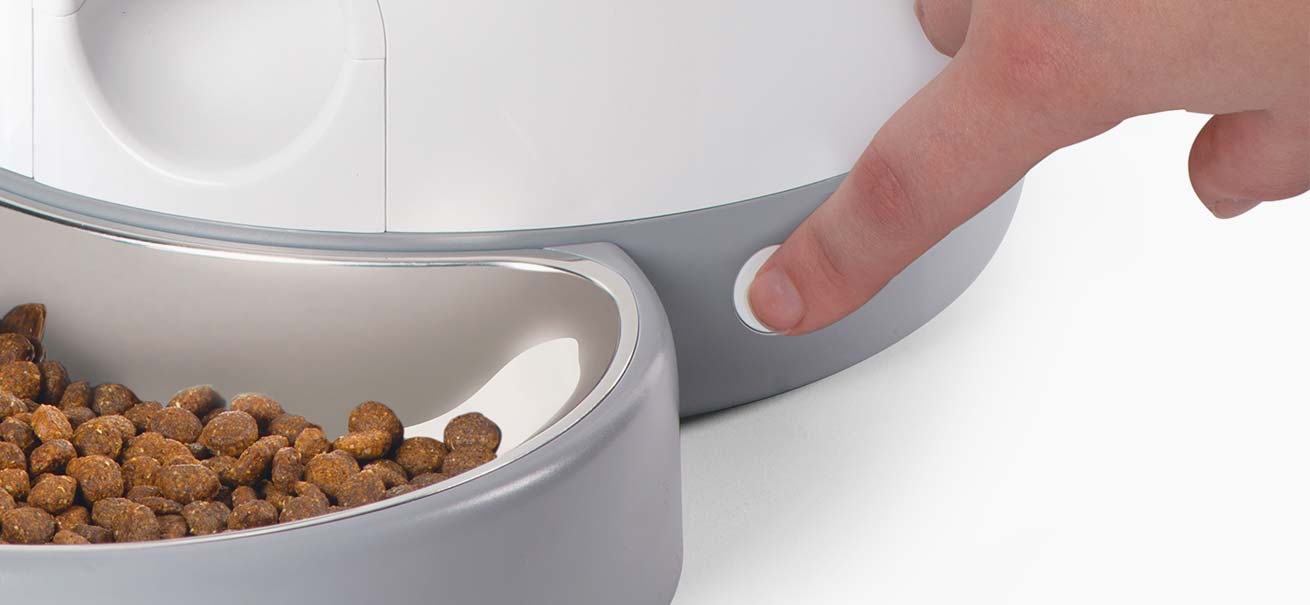
Pour any excess kibble back into the reservoir. To close the lid, rotate it clockwise until it locks into place (with the ears at the back)
Read on below the assembly video for detailed instructions, or download the instruction manual.
Step 1 completed! – Continue to step 2: downloading the PIXI app
Find out how to download the PIXI app on the PIXI Vision Smart Feeder Getting Started page. Have you already downloaded the app onto your phone? Move to step 3.
