Step 1 of 5 – Assembling your smart device
Already finished assembling your Catit PIXI smart device? Go to the overview for access to all other steps.
For information on all other help and advice topics, see our dedicated Help & Advice page.
Continue reading below or jump ahead to one of the following topics:
1.1 Rinse before use
Before assembling the drinking fountain, we recommend rinsing the filter and the pump parts thoroughly, for optimal efficiency later on. Click the links for detailed instructions on each.
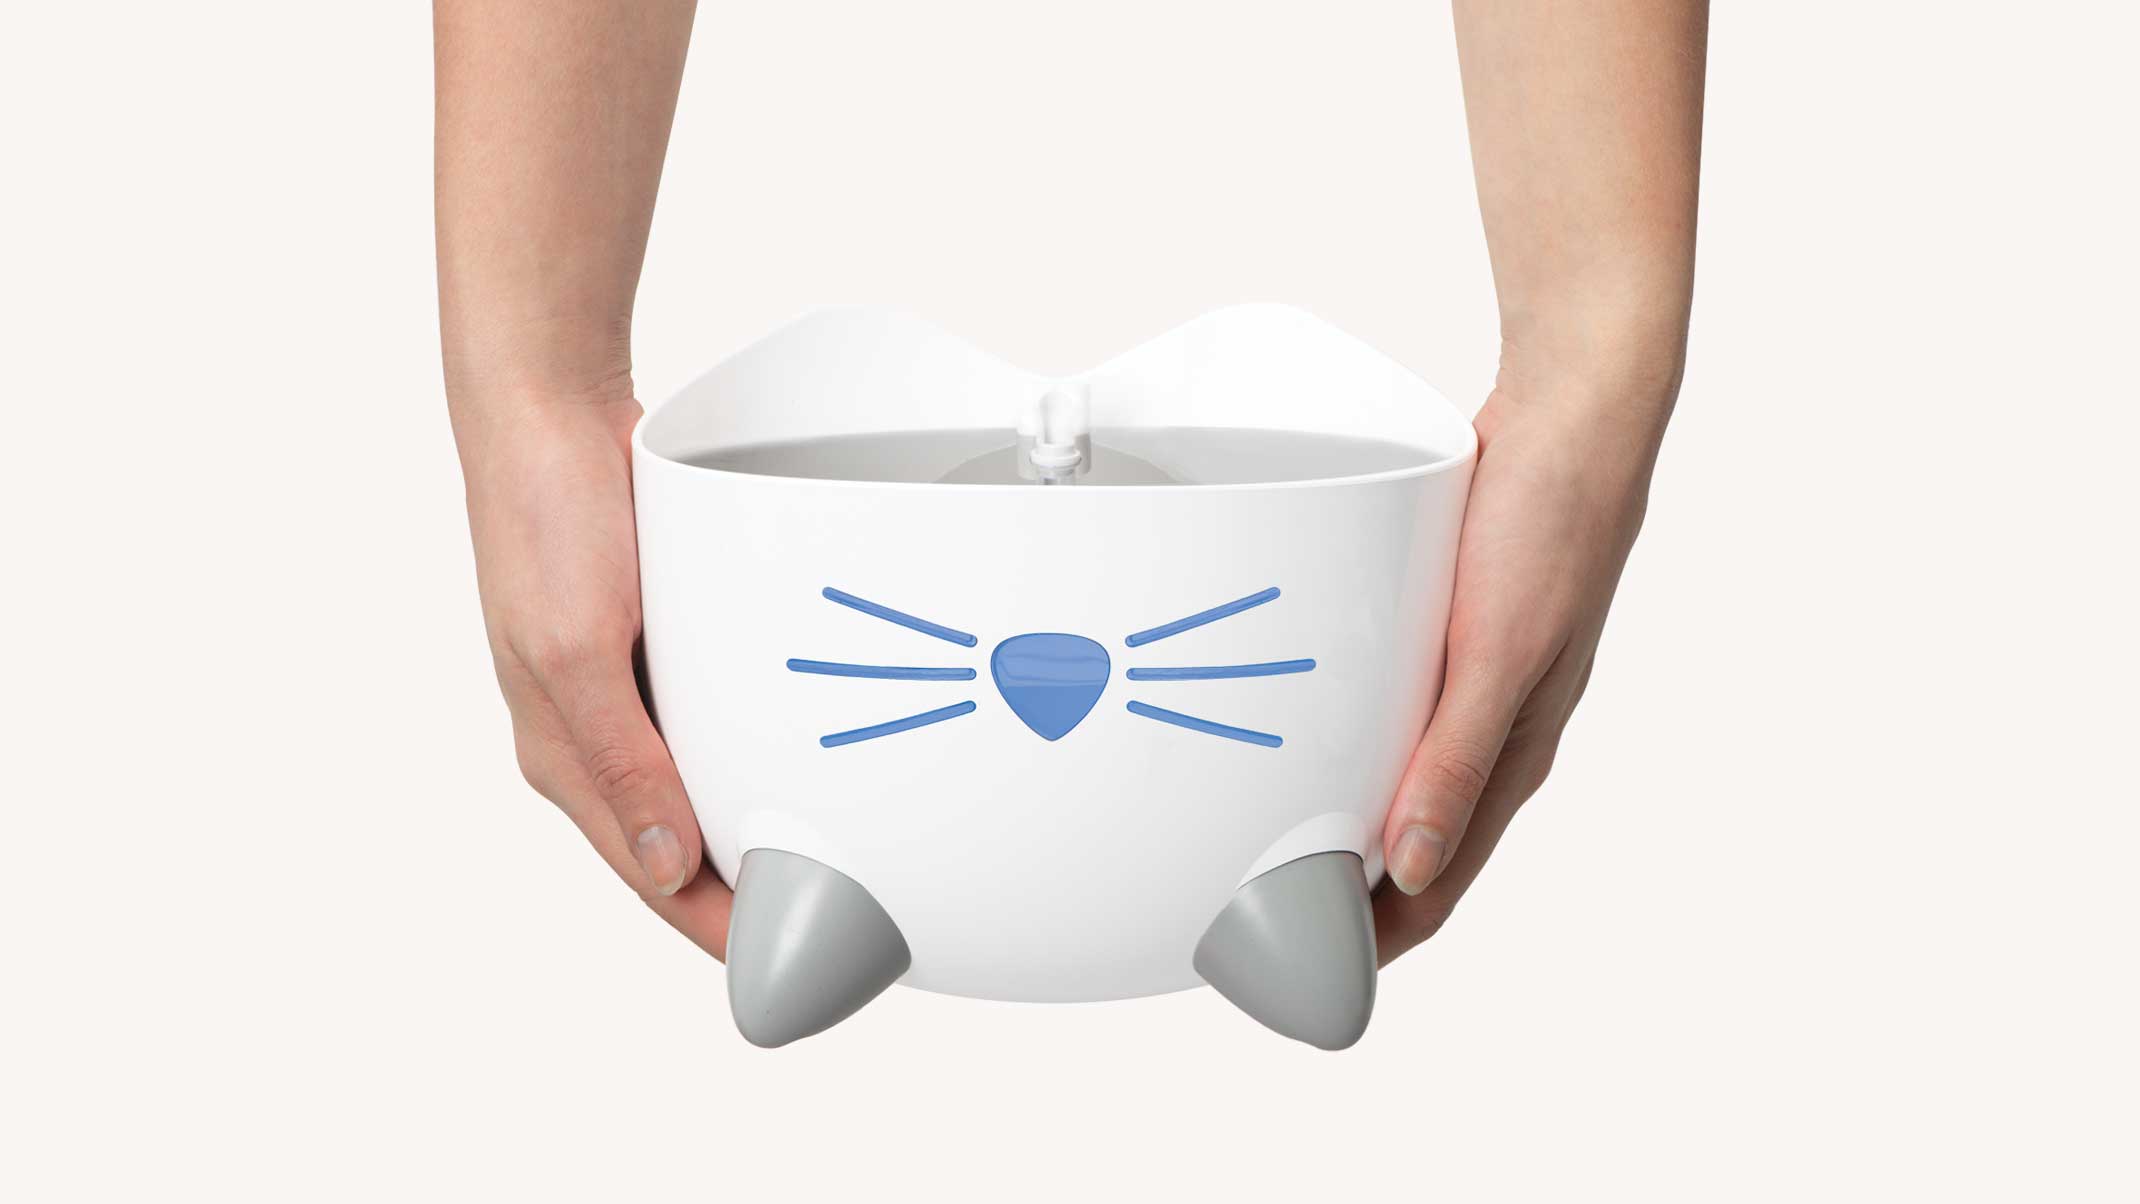
1.2 How do I assemble the Catit PIXI Smart Fountain?
If you’ve finished the above preparations, you’re ready to start assembling your Catit PIXI Smart Fountain.
Read on below the assembly video for detailed instructions, or download the instruction manual.
Attach the pump
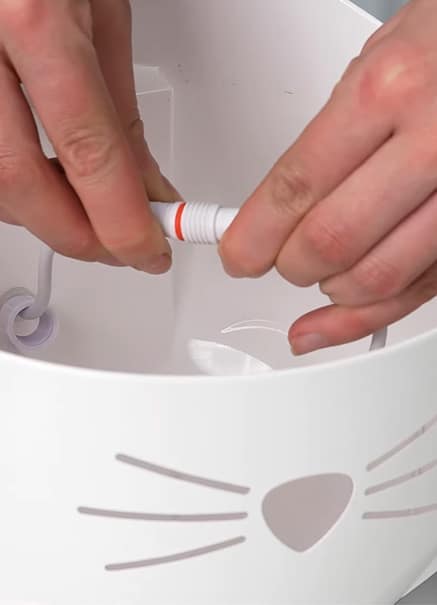
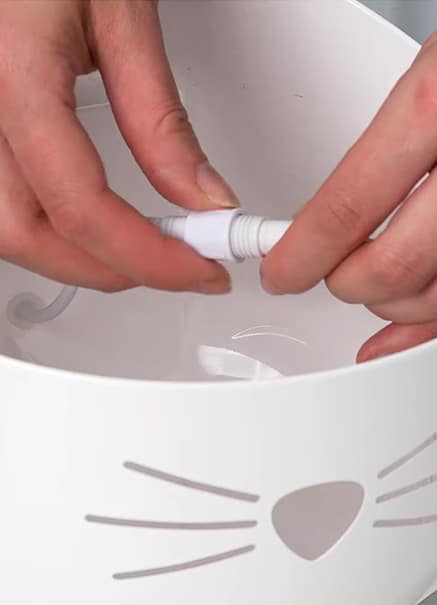
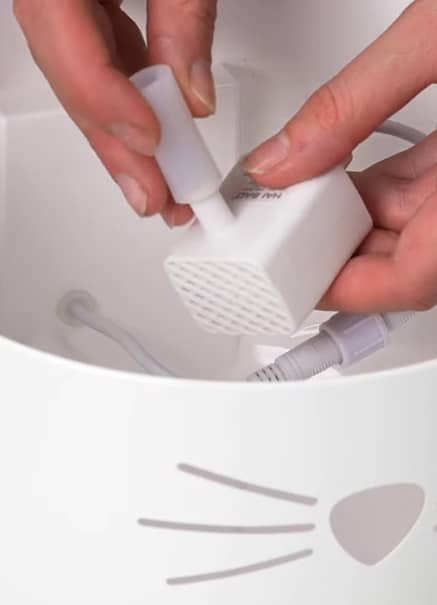
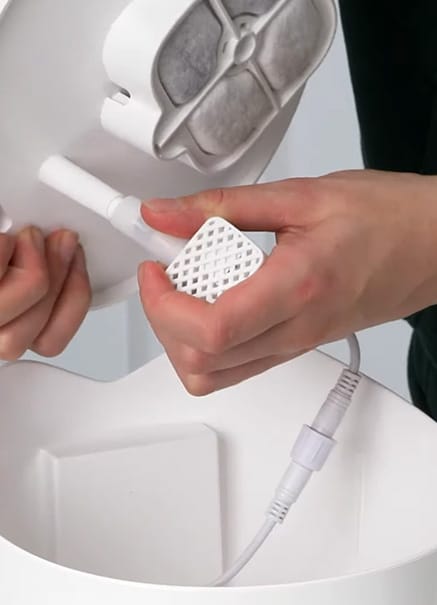
First connect to the fountain by lining out the prongs and ridges, and screwing on the safety cap. Once this cap is screwed tightly in place, never unscrew it, not even when cleaning your pump. If moisture gets into the connector, the fountain is likely to sustain permanent damage. Next, attach the silicone tube to the pump outlet.
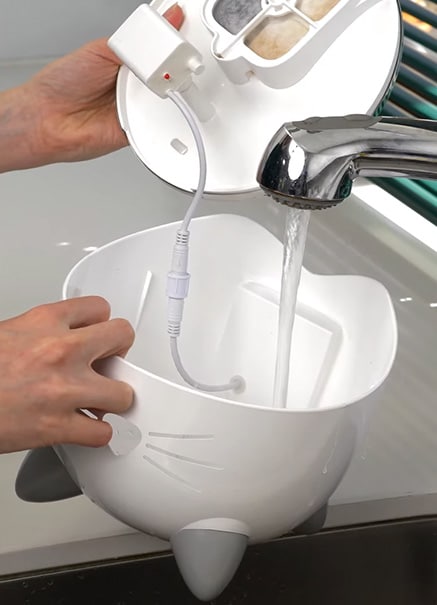
Rinse all fountain parts and insert filter
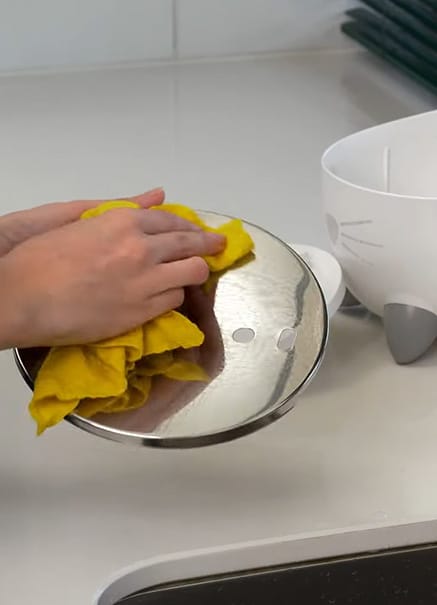
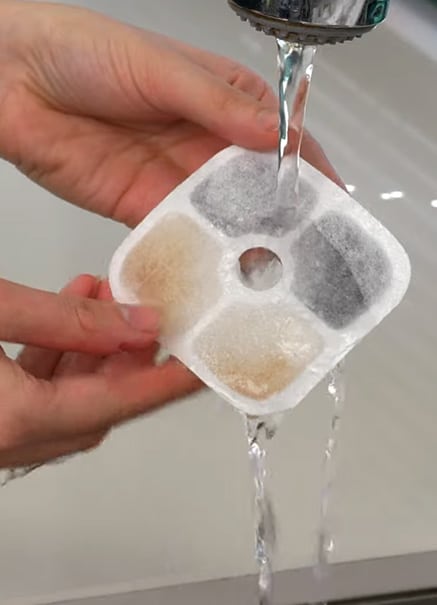
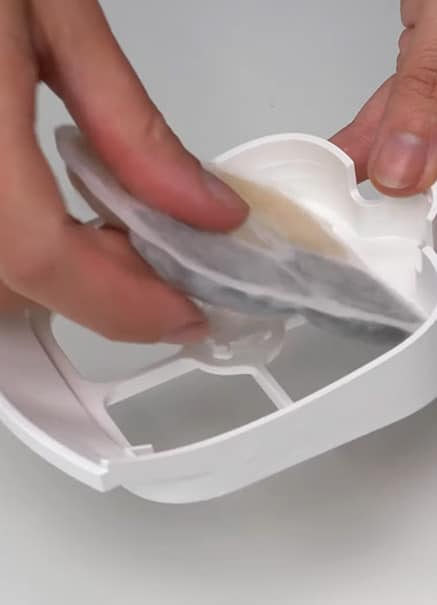
Next, clean all fountain parts using dish soap and a wet cloth, rinsing abundantly to remove any soapy residue. Make sure to rinse the filter, and insert it with pockets facing down in the filter tray, before attaching the tray to the fountain top.
Lower the fountain top
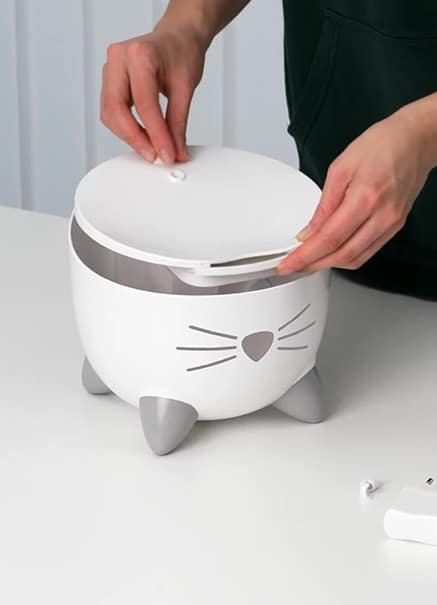
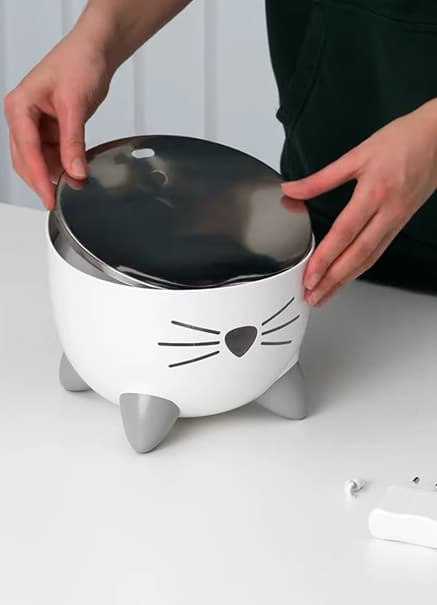
Next, attach the silicone tube to the fountain top, ensuring the pump hangs level. Lower the fountain top onto the water reservoir, and place the stainless steel cover over the top. Do so with care, as steel edges can be sharp.
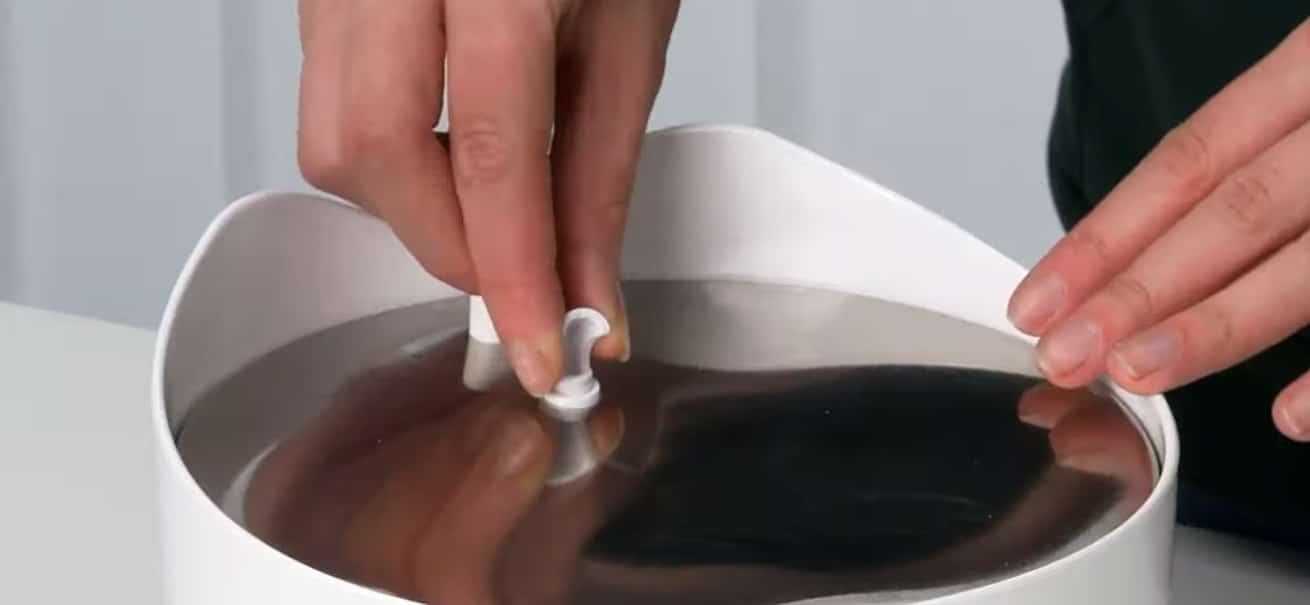
Insert the spout accessory (optional)
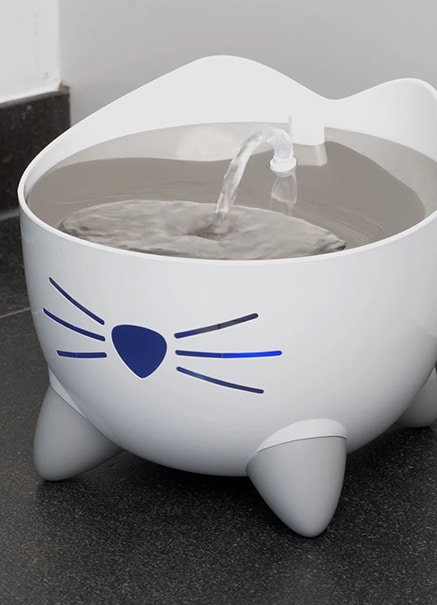
Simply place the spout in the top opening of the fountain and press down firmly until you feel it lock into place. When the fountain is powered on, the spout will create an arched waterflow for your cat to drink from. Point the spout in the preferred direction by rotating it left and right, and pull up to remove the spout when desired. The spout accessory can also be inserted or removed while the pump is running.
Fill the reservoir
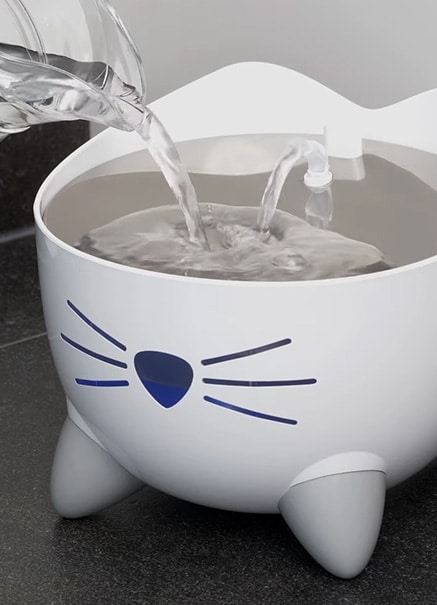
Fill the fountain reservoir with water until it is about half full. With dry hands, attach the power cord to the USB adapter. The adapter included with the Catit PIXI Smart fountain will match the standard type of adapter for your country. Place the fountain in the preferred location, and plug it into the electrical socket. Top up the water level until the maximum is reached (top of the water level window).
Step 1 completed! – Continue to step 2: downloading the PIXI app
Find out how to download the PIXI app on the PIXI Smart Fountain Getting Started page. Have you already downloaded the app onto your phone? Move to step 3.
